Trains, Planes, and Bitmap IPC
Github Link: here
The UPL (Undergraduate Project Lab) is a lab for students to build things on the UW-Madison campus. It is also one of my favorite places on campus. It used to be located in the old CS building, which was right next to the train tracks that run through Madison. The old building had a lot of charm, appreciated by its many researchers. However, the UPL has since been moved to the new Morgridge Hall. This building is more modern, larger, and better in some ways, but in other ways, it feels like we lost a lot of UPL history. Together with my friends Andrew and Nico, we worked on some projects to help restore some charm to the UPL.
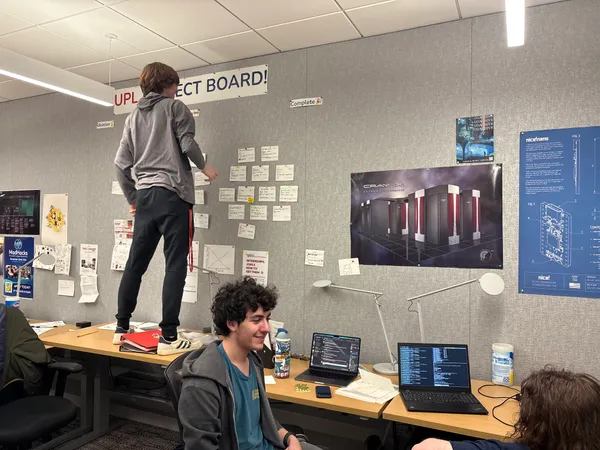
I chose to recreate the “immersive” train experience that the old UPL had. Truthfully, this was just the very loud noise of the train going right by the old CS building. The UPL already had a spare TV and plenty of Raspberry Pis lying around, so how can we use those to bring trains back to the UPL?
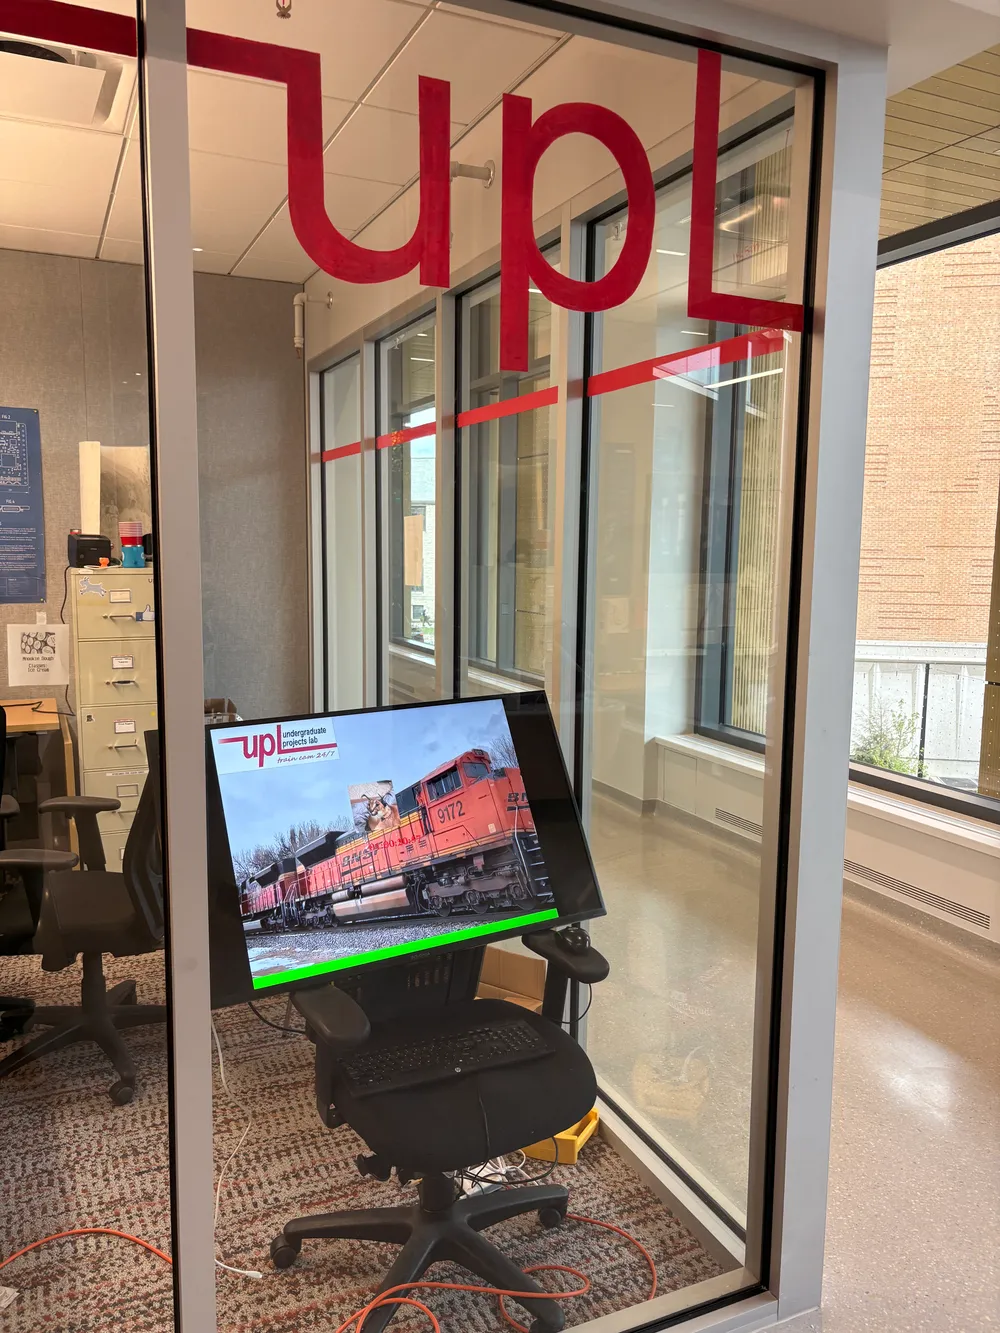
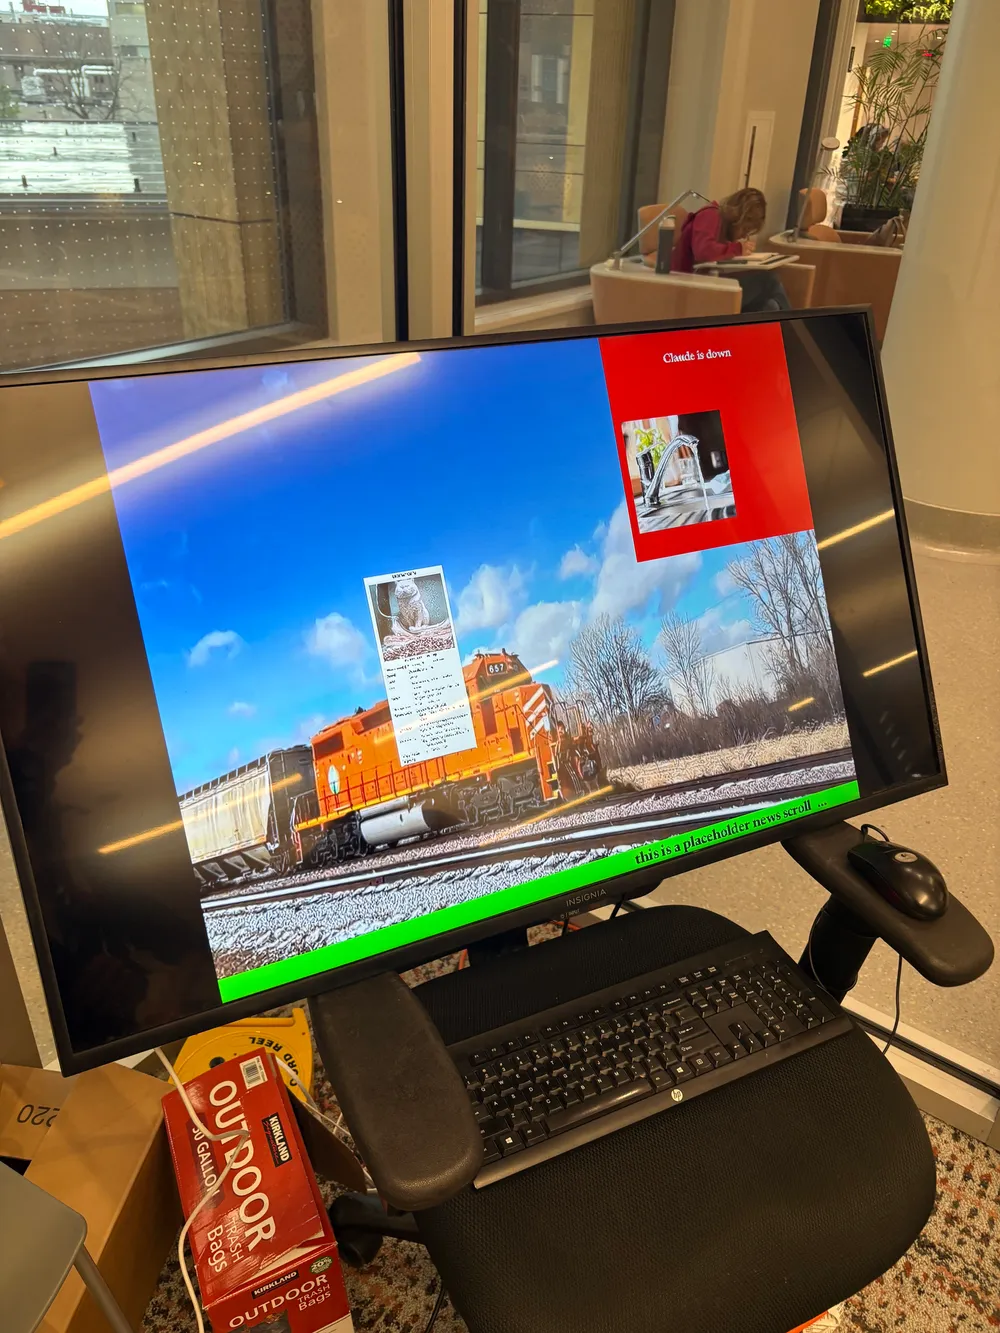
Above is the final result: a corner TV that plays train videos from 10am to 1am every school day, has DVD-logo style bouncing cat pictures, overlays, and newswires, and also ramps up and down the volume every few hours to simulate trains passing. This runs on a quite old Raspberry Pi 3, and the way it all works includes some interesting technical solutions.
The initial setup was just a VLC window that played a 12 hour, looping train video compilation downloaded from Youtube. Then, a bash script was added to ramp up and down the volume using amixer. However, I wanted to have overlayed graphics to make it distinct to the UPL. I decided to use C++ for drawing these overlays, since I wanted it to be performant, and to give me a bit of practice using the language. Previously, I had more experience with C, so this larger project pushed me to use classes effectively. I believe experience is the best teacher in trying to learn about the ins and outs of a new language (or anything new really).
My first idea was to use NotCurses, a modern port of the no curses TUI library. I wanted to render TUI graphics on a transparent terminal that overlaid the VLC window. This was possible through a custom Foot terminal configuration, and did have a cool aesthetic, but there was a big performance problem using this method.
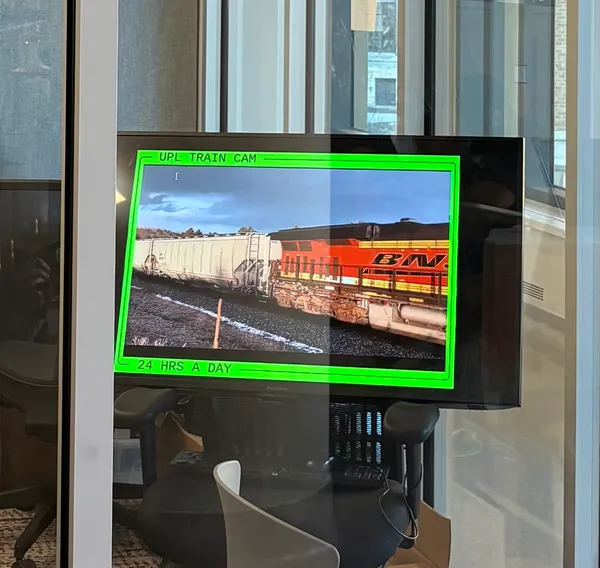
While each application ran at an acceptable frame rate on their own, trying to overlay the two together brought the Pi to a crawl. I believe this was due to the Pi CPU not being fast enough to allow the window compositor to switch between the 2 windows at a speed where they could both be >30 FPS. I tried switching between X11 and Wayland, reducing the window size and refresh rate, but nothing truly fixed the issue. It was time for a different approach.
While looking at possible solutions to the frame rate issues, I tried using MPV, an open source and lightweight video player that is more configurable than VLC. While looking through documentation, I came across this feature:
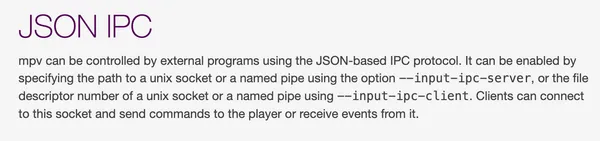
This seemed promising, but this command revealed a whole new way of adding graphics to playing video.

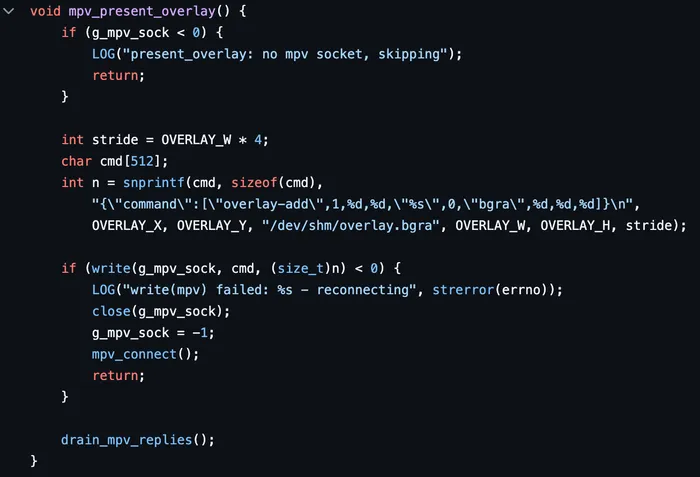
This JSON api, exposed through MPV’s IPC, lets us directly add bitmaps to the rendering pipeline as MPV renders frames. This creates a very performant way to add graphics to the video as it plays.
To generate the bitmaps, I used Cairo to make .bgra files from some downloaded font files and images. This just get stored in memory in tmpfs (the total video resolution is only 800x600, so they don’t take up much memory). Then, we just connect to the IPC socket and send the json command to add the overlay file each frame. When we want images to move or text to change, all we need to do is change the .bgra file stored in memory. Storing in memory helps us not destroy the low quality SD card the Pi runs on, and increases write/read speed of course. This technique allowed for very fast video overlay rendering, I limited it to 30 fps just because none of the overlays needed to move faster than that, but it could probably go much faster.
Since I needed to target an ARM architecture for the Raspberry Pi, I decided to learn about cross compilation from my x86 Windows machine. This is where I built upon my previous knowledge and fondness of Podman (basically rootless Docker), and used a container to do simple cross compilation.
This is done with a Dockerfile that installs all of the needed gcc packages, C++ library headers, and Linux config settings to get cross compilation working. Then, a toolchain CMake file for ARM is copied in, and CMake is run to build the app. Finally, the executable is just copied out, then the container is removed. I also used Podman Desktop to do all of this on Windows.
I really enjoyed this process, and I think it was a great use case for containers. I kept my dev environment clean and minimal without breaking other project’s dependencies, and it was easy to pick up development again on new machines. In my opinion, it was also much easier to recover from mistakes and iterate with new features, since I could track my entire CMake system through Git with the Dockerfile.
Oh, and I almost forgot about the Claude status detector! I wanted to include threads in this project, initially starting with some kind of sound effect, but I decided to do web requests instead. It was a common (very common) sight to walk into the UPL and hear someone joke that they couldn’t work on anything, since Claude was down. There was also this tweet that UPLers found entertaining. So, since the TV is always visible, I wanted to display Claude’s current status (just so everyone can see if they should be working or not, of course). With the graphics rendering figured out, it was easy to add a separate thread that fetches the Claude API status every minute. If it’s down, we display the following for all passersby to see. And it still runs the sink.
It was around this point that I decided the video part was done. I decided to shift my focus to the audio and power management side. I wanted the Pi to be able to turn the TV on and off, to save power at night, but I was initially stuck on where to start. I was thinking of IoT power switches, or trying to wire in some relay… but then I remembered hearing somewhere that the HDMI spec includes some serial communication. After looking into a bit more, I found CEC and realized it would be a perfect solution.
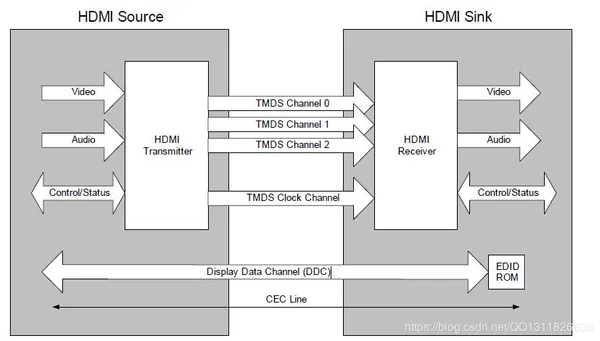
By using a cec-client that someone had developed for Linux, we can send simple commands over the single wire serial to the TV’s computer, and get it to do things. And because this single wire communication is designed to be super low power, it stays on even when the TV is turned off, meaning it can wake the TV back up as well.
I also used CEC for the volume control by sending the volume up / down command. I was having some trouble getting amixer to reliably control the volume when switching in and out of the input when the TV turned on and off. Now, the input and volume are all fixed and the Pi just sends commands to the TV to turn its volume up or down. Combined with a simple bash script for scheduling power / volume / startup, and a systemctl service to ensure that the management script stayed running, this project was complete.
I was satisfied with the amount of practice I got with this project, how many new things I learned for something that was just going to be a way to use a spare TV, and how much people enjoyed it. I saw many people walking by the UPL who looked in for longer, watching and probably wondering what on earth was playing on the TV. I also heard from some UPLers who were in the space without me that they enjoyed the ambience of trains passing while they studied or programmed. Truly, the old experience will live on, if with some changes.